Model
First Approach:
In Entity Framework Model First
Approach, you design entity directly in the EDMX designer in Visual studio and
later this entity converted into database table.
First Create new project in Visual
studio 2019
1. Right
Click on Solution Explore -> Add -> New Projects -> Select Asp.Net Web
Application (.Net Framework) using C# code -> Next -> Project Name (ModelFirstApproach)
->Create
2. Select
a template -> Empty -> Check MVC -> ok.

Step1:
Right Click on Models ->
Add ->ADO.NET Entity Data Model ->Add Model Name (EmployeeModel) ->
ok. After clicking ok button it will show the “Entity Data Model Wizard”, in
this window select “Empty EF Designer model” and click the finish button.

It
will get a “EmployeeModel.edmx[Diagram1]”, this is also known as “Entity
Data Model Designer” and here we will design our database tables.

Step 2: Adding Entity
Right click on the above diagram
page and chose Add New -> Entity. After clicking the Entity it will open “Add
Entity” Window, then give entity name (Employee) and click on ok.

After click ok button the entity
added like below in Visual Studio

Step 3: Adding Properties for
Employee
Now Right click on Employee diagram (its
shown above) click the Add New -> Scalar Property then type the name like
EmpName
Now created like below

Step 4: Generate Database from Model
Right click on the “Entity Data
Model Designer” page and click the “Generate Database from Model”. Now window
will opened, in that window click NewConnection button.

After adding all details, the Script
Generated window is display like below and click to finish.

After clicking the finish button
script file generated

Let’s execute this query window
first after that it will notice a database with some tables are added

Step 5:
Adding Controller and Views
Let’s build the Project first
(ModelFirstApproach)
Right click on Controller -> Add
-> Controller -> select MVC5 Controller with views, using Entity
Framework -> click Add
Now one Add Controller window opened
and select all details like below.

After clicking the Add button,
controller and views automatically generated.
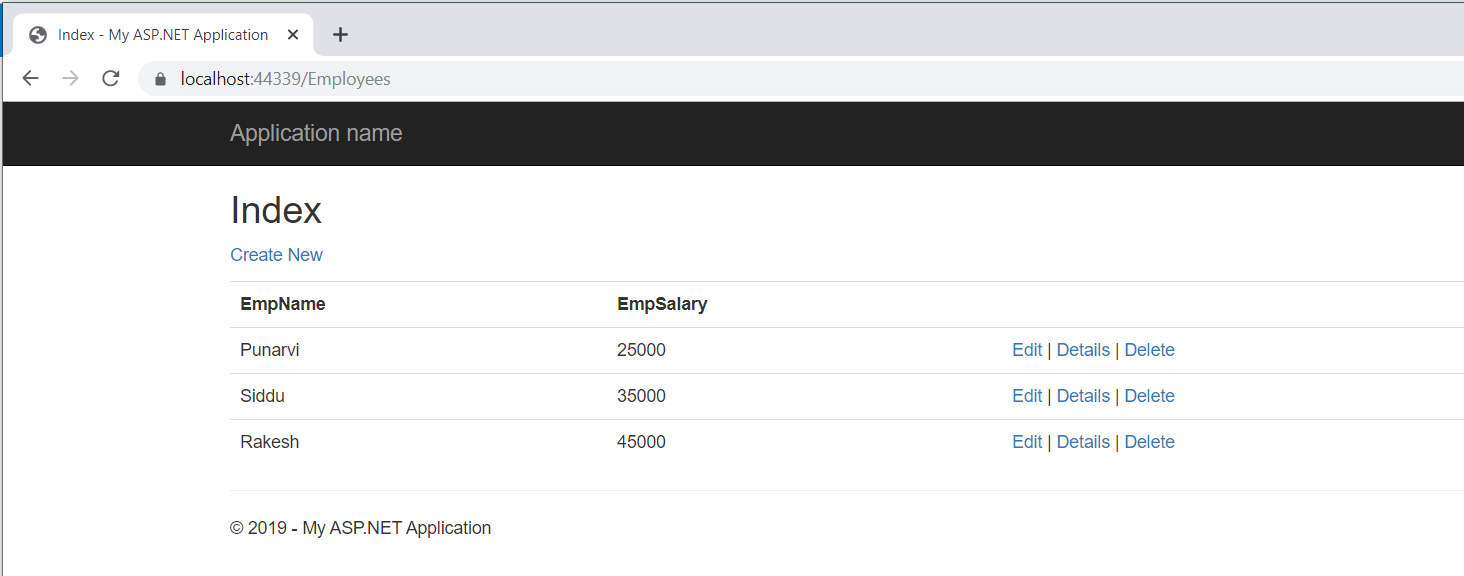
Now run the application and try to Create,
Edit, Details and Delete operation
No comments:
Post a Comment